Moneris iCT250 Instruction
A. Initialization
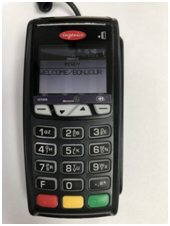
1. Start setting as picture a01
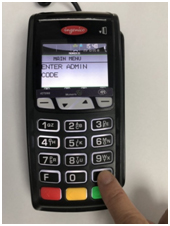
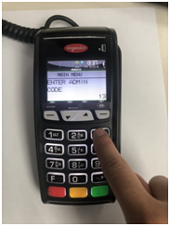
2. Double click # botton as a02
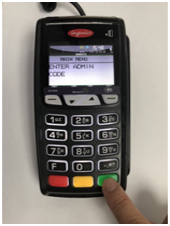
3. Press Ok (green botton) as a03
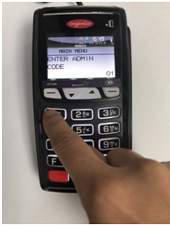
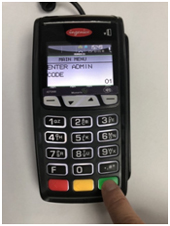
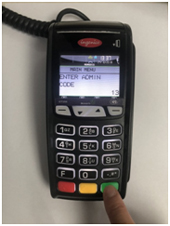
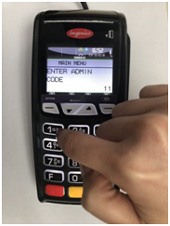
4. Enter code 01 as a04
5. Press Ok (green botton) as a05
6. Start Initialization as a06, then press Enter (green button)
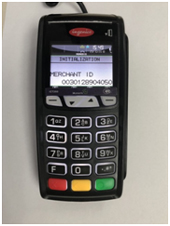
7. Enter your phone # , Press OK (green botton) as a07
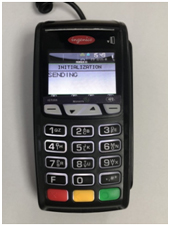
8. Continue Initializatin (Please wait, sending or receiving) as a08
9. Complete Initialization as a09
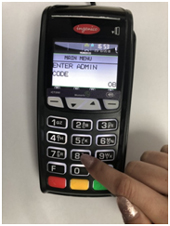
B. Terminal Setup
1. Double click # botton to as b01
2. Enter code 13 as b02
3. Press Ok (green botton) as b03
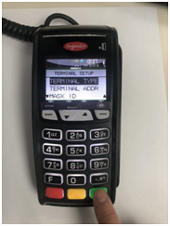
4. Press Ok (green botton) as b04
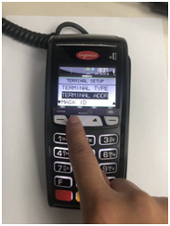
5. Press Ok (green botton) as b05
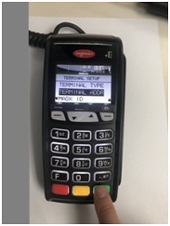
6. Press Ok (green botton) as b06
7. Click down arrow once as b07
8. Press Ok (green botton) as b08, then shown as b09
9. Press Ok (green botton), back as b10
10. Click down arrow twice as b11
11. Press Ok (green botton) as b12, then shown as b13
12. Press Ok (green botton), back as b14
13. Click down arrow three times as b15
14. Press Ok (green botton) as b16, then shown as b17
15. Press Ok (green botton), back as b18
16. Click down arrow four times as b19
17. Press Ok (green botton) as b20, then shown as b21
18. Press Ok (green botton), back as b22, complete Terminal Setup
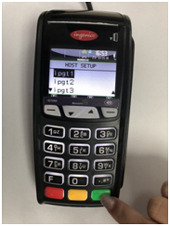
C. Host Setup
1. Double click # botton as c01 to start
2. Enter code 11 as c02
3. Press Ok (green botton) as c03.
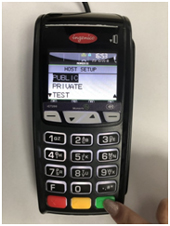
4. Press Ok (green botton) as c04
5. Press Ok (green botton) as c05, complete Host Setup
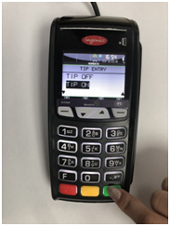
D. Tip Setup
1. Double click # botton as d01 to start
2. Enter code 08 as d02
3. Press Ok (green botton) as d03
4. Click down arrow four times as d04
5. Press Ok (green botton) as d05
6. Press Ok (green botton) as d06
7. Press Ok (green botton) as d07, complete Tip Setup
Communications setup
Your terminal must be configured to communicate with the Moneris host.
1. Do one of the following based on your requirements:
* If you are using dynamic IP as default, proceed to Using dynamic IP below.
* If you are using static IP as default, proceed to Using static IP on page 14.
* If you are using dial as default, proceed to Using dial on page 16.
* If you are using dial as backup, proceed to Using dial as backup on page 16.
Tips for moving through the menus
* Press the key to answer "yes" to any questions or to scroll down.
* Press the key to answer "no" or to scroll up.
* Press the green key to select a menu item or finish entering information and move on to the next step.
Using dynamic IP
The terminal is already configured for dynamic IP communications.
1. Do one of the following:
* If you are using dial backup and need to enter a prefix (e.g., 9) to connect to an outside line, proceed to Setting a dial prefix on page 16.
* If you are not using dial backup or you are but do not need to enter a prefix, proceed to Initialization and logon on page 19.
Using static IP
Contact your Internet Service Provider (ISP) to gather the following information: the terminal’s IP address, Mask ID, Gateway address, and DNS addresses.
Note: If you are configuring the terminal to work as a semi-integrated device with your ECR, you will also need to know the port number that the ECR is configured to use to communicate with the terminal.
1. Press the Admin key twice, key in 13, and press the green key.
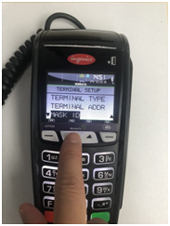
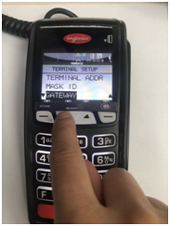
2. Press the green key to select TERMINAL SETUP.
3. Press the green key to select TERMINAL TYPE.
4. Scroll up to STATIC, and press the green key.
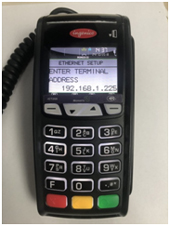
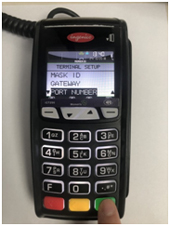
5. When the TERMINAL SETUP menu appears, enter the static IP information as follows:
Note: To enter a decimal point, press the 0 (zero) key and then press the Admin key.
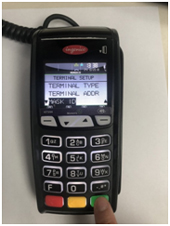
a. Scroll down to TERMINAL ADDR, and press the green key. Then key in the terminal’s IP address, and press the green key.
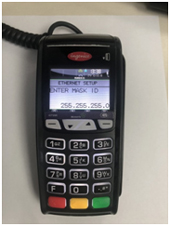
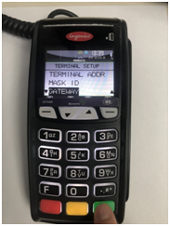
b. Scroll down to MASK ID, and press the green key. Then key in the terminal’s Mask ID, and press the green key.
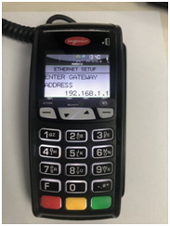
c. Scroll down to GATEWAY, and press the green key. Then key in the terminal's Gateway address, and press the green key.
d. Do one of the following:
* If you are setting up a standalone terminal (with or without an external PINpad): Skip this step, and go directly to step 6.
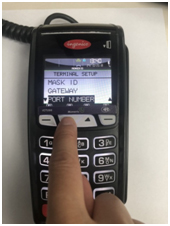
* If you are setting up the terminal to work as a semi-integrated device with your ECR: Scroll down to PORT NUMBER, and press the green key. Then key in the port number that the ECR is using to communicate with the terminal, and press the green key.
6. Press the red key once to return to the ETHERNET SETUP menu.
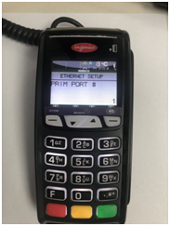
7. Enter the terminal's DNS address information:
a. Scroll down to DNS SETUP, and press the green key.
b. Scroll down to PRIM ADDRESS, and press the green key. Key in the terminal's Primary DNS Address, and press the green key.
c. Scroll down to SEC ADDRESS, and press the green key. Key in the terminal's Secondary DNS Address, and press the green key.
8. Press the red key twice. The REBOOT TERMINAL message appears, and then the terminal reboots.
9. When the terminal displays TERMINAL SETUP REQUIRED or REINITIALIZATION REQUIRED, go to the next step.
10. Press the Admin key twice, key in 13, and press the green key.
11. When the ETHERNET SETUP menu appears, press the red key once.
12. When the terminal displays TCP HOST CONNECTION OK PRESS OK, press the green key.
* If TCP CONNECTION FAILED or HOST CONNECTION FAILED appears, see page 17 for troubleshooting.
13. When the terminal displays TERMINAL SETUP REQUIRED or REINITIALIZATION REQUIRED, do one of the following:
* If you are using dial backup and need to enter a prefix (e.g., 9) to connect to an outside line, proceed to Using dial backup on page 16.
* If you are not using dial backup or you are but do not need to enter a prefix, proceed to Initialization and logon on page 19.
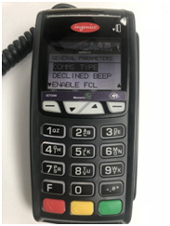
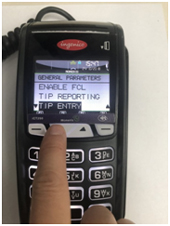
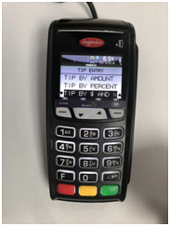
Enabling Tip Entry, Cashback, or Invoice Number
1. Press the Admin key twice, key in 08, and press the green key.
2. Use the key to scroll down to the option that you want to enable (e.g. TIP ENTRY, CASH BACK, or INVOICE NUMBER), and press the green key.
* If you are enabling tip entry, follow these additional steps:
a. Scroll to a tip entry type (TIP BY AMOUNT or TIP BY PERCENT or TIP BY $ AND %), and press the green key.
b. Press the red key once, and then go to step 4.
3. Enable the option by pressing the key (YES).
4. Press the red key twice to return to the READY screen.
Note: To change the default values for the tip and cash back options, or to enable enhance
Changing printer options
The printer is set up to automatically print the second receipt 10 seconds after it prints the first receipt.
Note: If you don’t want to wait, simply press the green key to print the second receipt immediately.
To change this setting:
1. Press the Admin key twice, key in 14, and press the green key.
2. Scroll down to PRINT DELAY, and press the green key.
3. Key in the number of seconds that the printer should wait before automatically printing the second receipt and press the green key.
Note: If you key in 99, the printer will always wait until the green key is pressed before printing the second receipt.
4. Press the green key to return to the PRINTER CFG menu.
5. Press the red key twice to return to the READY screen.
Note: Shop for point-of-sale supplies and paper online at shop.moneris.com.